
Materials
wood box (5X5" joanns)
wood box (5X5" joanns)
paint (green for the inside of the box)
assorted cardstock
CAC cartridge
Peachy Keen stamps Everyday Faces assortment (optional)
Modge Podge
foam paint brushes and 1 popsicle stick
assorted cardstock
CAC cartridge
Peachy Keen stamps Everyday Faces assortment (optional)
Modge Podge
foam paint brushes and 1 popsicle stick
Cuts
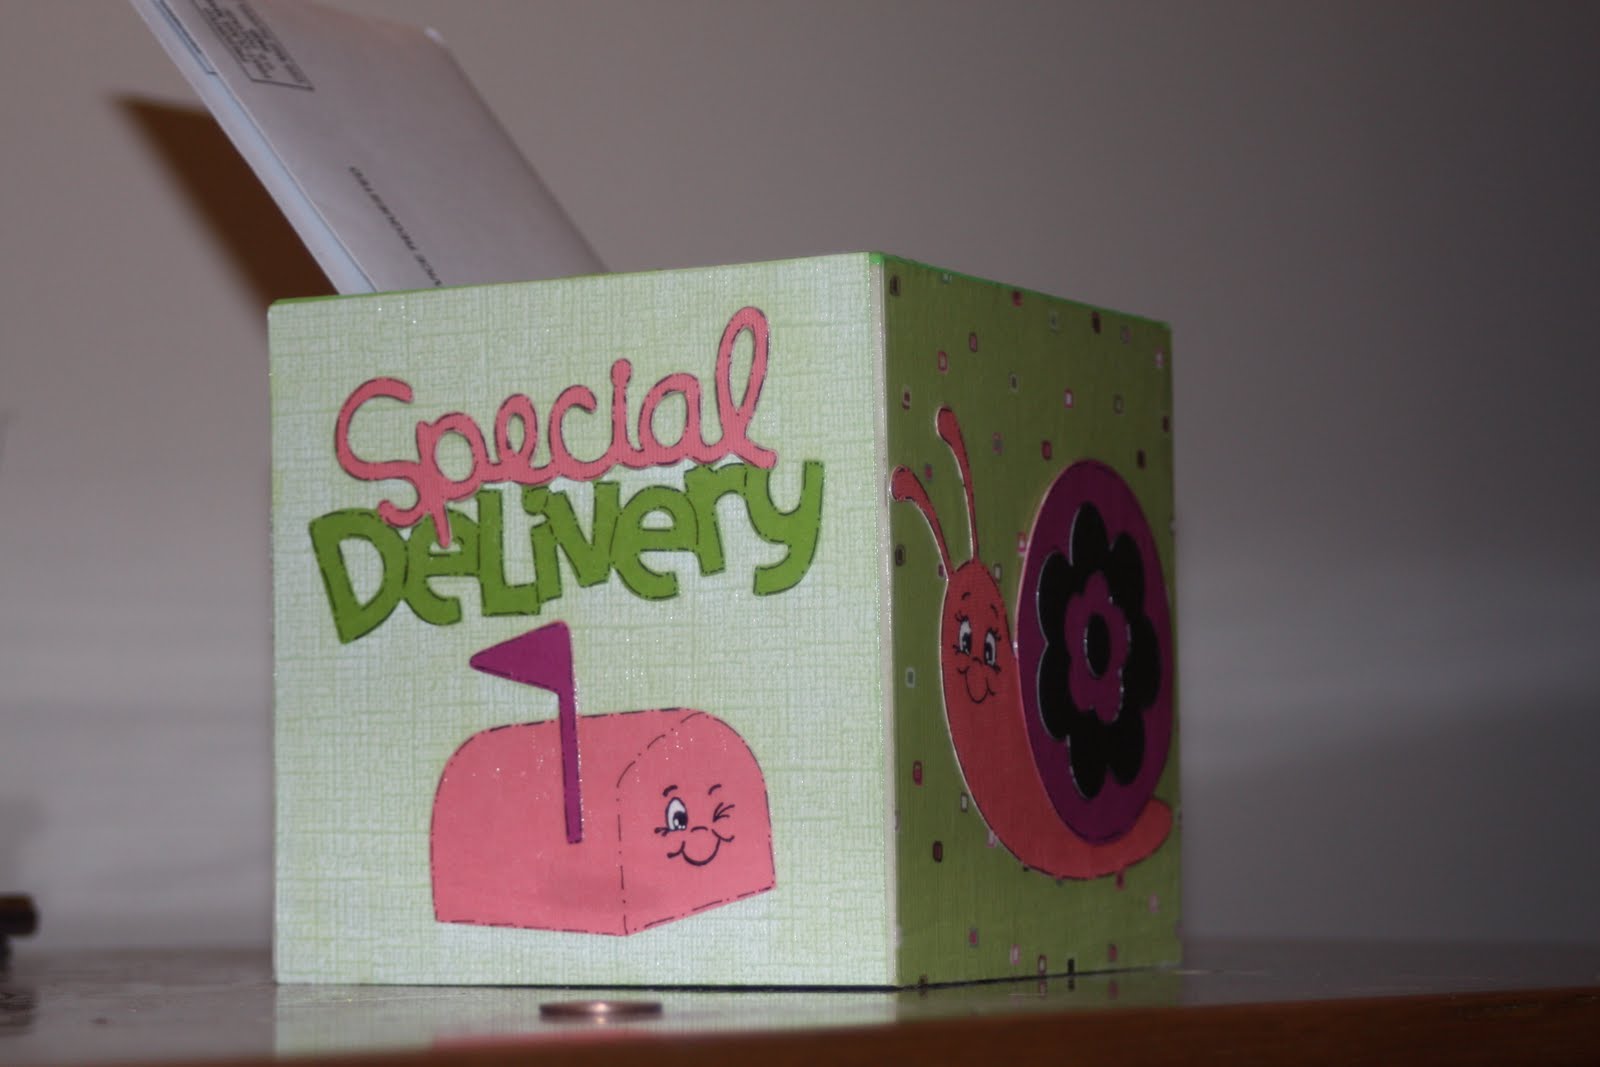
Special Delivery cut at 2" twice without shift and twice with shift
Base four pieces of cardstock cut at 5X5"
Mail box cut at 2 1/4" twice-base and layer 2 were the only layers cut
Snail cut at 3 1/2" twice-the base and layers 2 and 3 were the only layers cut
Base four pieces of cardstock cut at 5X5"
Mail box cut at 2 1/4" twice-base and layer 2 were the only layers cut
Snail cut at 3 1/2" twice-the base and layers 2 and 3 were the only layers cut
Paper
Base: K*i memories "my girl glitter", core'dinations whitewash: green
Special delivery: core'dinations whitewash green, DCWV red #3
Snail: DCWV red#3, core'dinations core essentials in black and magenta
Mailbox: DCWV red #3, core'dinations core essentials magenta
Base: K*i memories "my girl glitter", core'dinations whitewash: green
Special delivery: core'dinations whitewash green, DCWV red #3
Snail: DCWV red#3, core'dinations core essentials in black and magenta
Mailbox: DCWV red #3, core'dinations core essentials magenta
Instructions
1. Paint the inside of the box your desired colors and allow to dry while you work on the rest of the project.
2. Cut base layers at 5X5". Also cut all the cricut cuts at the above dimensions and assemble all layers and arrange on base sheets of cardstock. Glue down with preferred adhesive.
3. Apply modge podge to 1 side of box and put cardstock base (with cricut cuts already glued down) onto the box. Smooth out all wrinkles using popsicle stick. Repeat on all 4 sides
4. Apply 1 layer of modge podge over top of the 4 decorated sides of the box. Remove as much excess modge podge as possible with brush and smooth the finish out as much as possible. Tip: do 2 sides at a time then allow dry before doing the other 2.2. Cut base layers at 5X5". Also cut all the cricut cuts at the above dimensions and assemble all layers and arrange on base sheets of cardstock. Glue down with preferred adhesive.
3. Apply modge podge to 1 side of box and put cardstock base (with cricut cuts already glued down) onto the box. Smooth out all wrinkles using popsicle stick. Repeat on all 4 sides
5. Allow project to dry, put bills in place and enjoy!
Here are some close-up pics of the finished project:


No comments:
Post a Comment